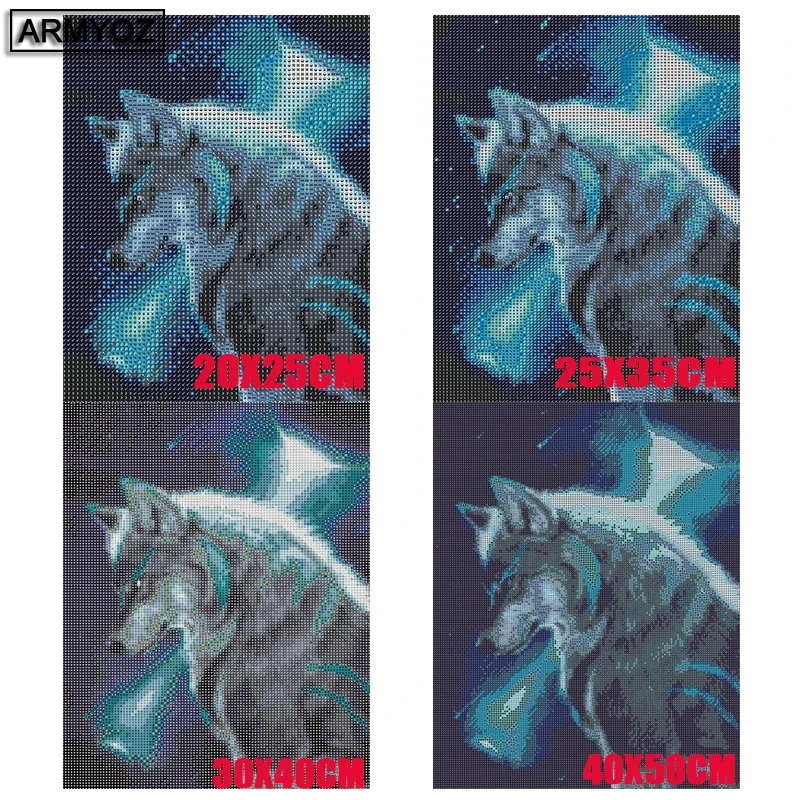


Round gems - from colored acrylic, brings shiny 3D effects. Lines do not need to be aligned during the laying process. After the completion, there will be no irregularities. The layout is quicker because there are crayons in the kit.

About square diamond
Square stones - from colored acrylic, also perfectly poured into the light. Square strasses fill very well all the free space. After completion, if you leveled the rows, the effect from the picture will be magnificent .


1. Refer to the comparison table on the canvas to identify each diamond number and the corresponding printed number on the canvas.
2. Insert the round end of the dotting pen into the dotting cement (push hard to keep the cement in place).
3. Use the round end of the pen to stick a diamond and slightly press down to remove any extra cement.
4. Tear apart the partial film and place the diamond on the canvas according to the corresponding number.
5. If you stick a diamond to a wrong area on the painting, remove the diamond with tweezers.
6. After finishing, slightly press down the diamonds with your hand or a book to ensure that the diamonds are firmly attached.


